
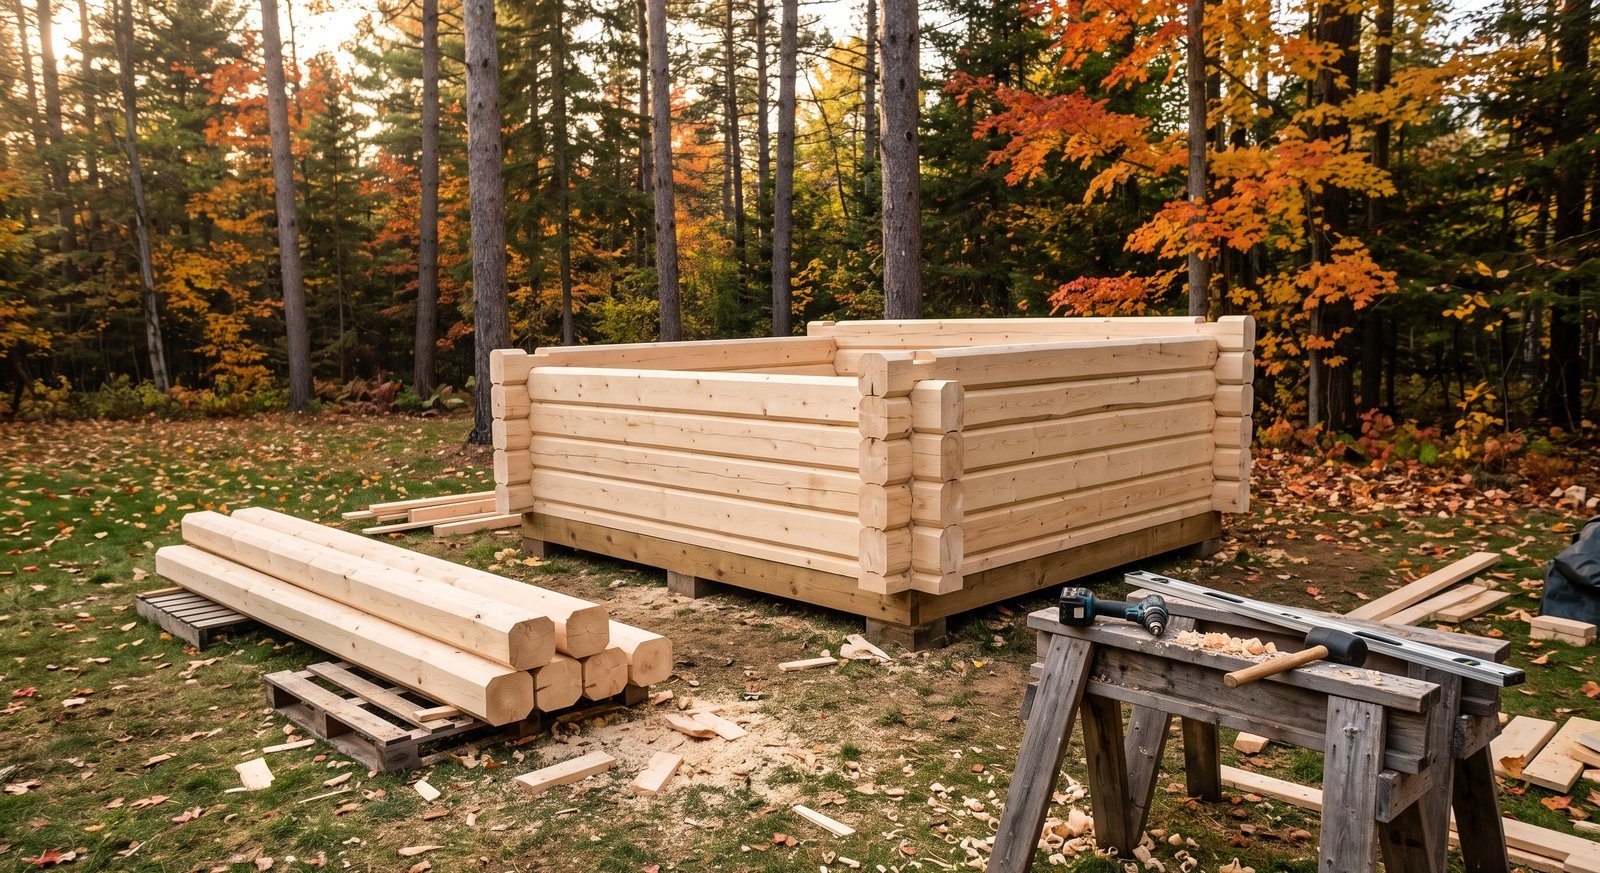
A DIY sauna kit is the most affordable way to get a real wood sauna in your backyard. The hard part, designing a building that holds heat and cutting every log to size, is done for you. What remains is a satisfying project that two reasonably handy people can complete over a few weekends. This guide walks through the whole build, from choosing a site to your first session, and covers the details that make the difference between a good sauna and a great one.
Is a do-it-yourself sauna kit right for you?
You can build a sauna kit yourself if you can:
- Read a numbered assembly plan.
- Use a level, a drill, a saw and a rubber mallet.
- Lift wall logs with a helper.
- Work safely on a step ladder for the roof.
The parts you should not DIY unless you are qualified: the electrical connection for an electric heater (in Ontario this needs an ESA permit and is usually done by a licensed electrician) and a wood stove installation (have it installed or inspected by a WETT-certified technician).
Tools you will need
- Cordless drill/driver and bits
- Circular saw or mitre saw for trimming
- 4 ft level and a long straightedge
- Tape measure, chalk line, carpenter’s square
- Rubber mallet and a tapping block
- Step ladders and, for the roof, a safe working platform
- Utility knife, stapler, caulking gun
Step 1: Plan, check permits and pick the site
- Check zoning setbacks and whether your sauna needs a building permit. In Ontario, small buildings under 10 m² (108 sq ft) without plumbing are generally exempt; a wood stove or a shower changes that. See permit-free building sizes in Ontario.
- Choose a level, well-drained spot with a short path to the house and, for an electric heater, a practical route for the cable.
- For a wood stove, keep clear of trees and overhanging branches and check the chimney clearances.
Step 2: Build the foundation
The foundation must be level, square and stay that way through freeze-thaw cycles. Common choices:
- Concrete piers or helical piles under the foundation beams.
- Compacted gravel pad with treated beams on top.
- Concrete slab if you want a tiled or concrete floor in the hot room.
Check the diagonals: if they match, the base is square. A base that is out by even half an inch will make the walls harder to assemble. Our foundation guide covers the options in detail.
Step 3: Unpack and sort
Open the packages, lay the parts out by number on dry bearers, and check them against the parts list. Cover everything if rain is coming. Keep the doors and windows somewhere safe until you need them.
Step 4: Floor beams and floor
Place the impregnated foundation beams on your base, level them with shims, and fix them down. Lay the floor boards if your kit includes a wooden floor. In the hot room, some builders prefer a concrete or tiled floor with a small drain; others use duckboards over the wooden floor so it can dry.
Step 5: Raise the walls
- Lay the first course carefully. It sets the level for everything above.
- Stack the numbered logs course by course. The tongue-and-groove profiles and corner joints interlock; tap each log down with a mallet and a block, never hit the profile directly.
- Check the walls for plumb every few courses.
- Fit the door and window frames as the walls reach their height. Leave the settling gap above each frame as shown in the instructions. Solid log walls settle slightly as the wood dries, and that gap stops the frames from being crushed.
Step 6: Roof
Assemble the gables and roof beams as shown in the instructions, then fix the roof boards. Lay the roofing as soon as possible to keep the inside dry. Our sauna cabin kits include shingles; follow the shingle maker’s instructions for underlayment and drip edge.
Step 7: Protect the outside
Apply a quality exterior stain or paint to all outside surfaces within a few weeks. Pay attention to the log ends at the corners, which absorb water fastest. Do not use film-forming paints or varnish inside the hot room.
Step 8: Insulation (optional but worth it for winter)
Solid log walls store heat and give a soft, even sauna heat. If you will use the sauna often in deep cold, insulating the ceiling of the hot room gives the biggest gain for the least work, because heat rises. If you insulate behind an interior lining, use a foil vapour barrier on the warm side with the joints taped.
Step 9: Benches
- Put the top bench about 40 to 45 in below the ceiling so seated bathers’ heads are in the hottest air without touching the ceiling.
- Make the top bench 20 to 24 in deep; lying-down benches can be deeper.
- Add a lower bench or step about 16 to 18 in below the top bench.
- Use aspen, alder or abachi for anything you sit on, and hide the screws from below.
- Leave a gap between the bench and the wall for airflow.
Step 10: Heater, ventilation and lighting
- Heater: size it to the hot room’s volume using the maker’s chart, add extra for glass and log walls, and follow the stated clearances to the benches and walls. Fit a heater guard.
- Ventilation: a fresh-air intake low on the wall near or under the heater, and an exhaust vent high on the opposite wall (or low on the opposite wall, depending on heater design). Good airflow keeps the air fresh and the wood dry between sessions.
- Lighting: use fixtures rated for saunas, mounted low on the wall or under the benches, never directly above the heater.
Step 11: First firing
Run the heater empty (or burn a few small fires) for an hour with the door and vents open to burn off manufacturing residue. Then close up, heat to temperature, and enjoy your first löyly.
How long does a DIY sauna kit take?
| Stage | Typical time (two people) |
|---|---|
| Foundation | 1 to 2 days, plus concrete curing time if used |
| Walls and roof boards | 1 to 2 days |
| Roofing and exterior stain | 1 to 2 days |
| Benches, heater, lighting, finishing | 2 to 4 days |
Common DIY sauna mistakes
- A foundation that is not level or square.
- No settling gap above doors and windows.
- An undersized heater, especially with glass doors.
- Varnish or paint inside the hot room.
- No fresh-air intake.
- Benches too low, so bathers sit in the cool air.
- Plastic vapour barrier instead of foil behind an insulated lining.
DIY sauna kits in Canada: delivery and lead time
Our sauna cabin kits ship flat-packed on pallets and are delivered by flatbed truck across Ontario, with quotes for other provinces. Each kit is made to order, so allow roughly 4 to 18 weeks from order to delivery depending on season and shipping schedule. Build the foundation while you wait. See our delivery page for details.
Ready to choose? Compare our sauna kits, read the outdoor sauna kit buyer’s guide, or learn why a cabin sauna may suit you better than a barrel.
FAQ
Is a DIY sauna kit cheaper than hiring a builder?
Usually, yes. Assembling the kit yourself saves the labour cost, which on a small building can be a large share of the total. Leave the electrical or stove installation to qualified pros.
Can one person build a sauna kit?
Much of it, but you will want a helper for lifting longer logs, the roof boards and the door.
Does a sauna kit include the heater?
Ours do not. Choosing the heater separately lets you pick electric or wood-burning and size it to your use.
Do I need to insulate a log sauna?
No, solid log walls work as they are. Insulating the ceiling of the hot room is a worthwhile upgrade if you use the sauna often in winter.

