
So You Want to Build a Wooden Cabin Yourself
Good instinct, honestly. Building your own wooden cabin is one of the few backyard projects that’s genuinely within reach for someone with no construction background — provided you pick the right starting point. That last part trips people up more than the actual building does.
Here’s how it actually goes, roughly in order.
The Decision That Determines Everything Else
Before you touch a tool, decide whether you’re building from raw lumber or starting from a precision-cut kit. From raw lumber, you’re notching corners, squaring walls, and effectively doing carpentry — weeks of work, and mistakes compound. From a kit, every log arrives pre-cut and numbered, so the “building” part is really an assembly sequence. If you’re doing this for the first time, and most people are, start with a kit. The satisfaction of building it yourself doesn’t go away just because the pieces were cut at a factory.
Two Weeks Before: The Foundation
This is the part people underestimate. Whatever you’re setting the cabin on — a compacted gravel pad, deck blocks, or piers — needs to be done and level before delivery day, not the morning of. An unlevel foundation is the single biggest source of frustration later: doors that stick, gaps at the corners, a floor that’s subtly off. We’ve written up the four foundation options we recommend and when each makes sense.
Delivery Day
Kits typically arrive flat-packed on a pallet, and it’s heavier than you’d think — a compact model can weigh over a thousand kilograms. You don’t need to unload it by hand; plan for where it lands and how you’ll move components to the build site.
The Weekend Itself
Realistically, here’s how a compact cabin comes together:
Morning one: foundation beams go down and get leveled against your prepared base, then the floor. Get this right — everything above it depends on it.
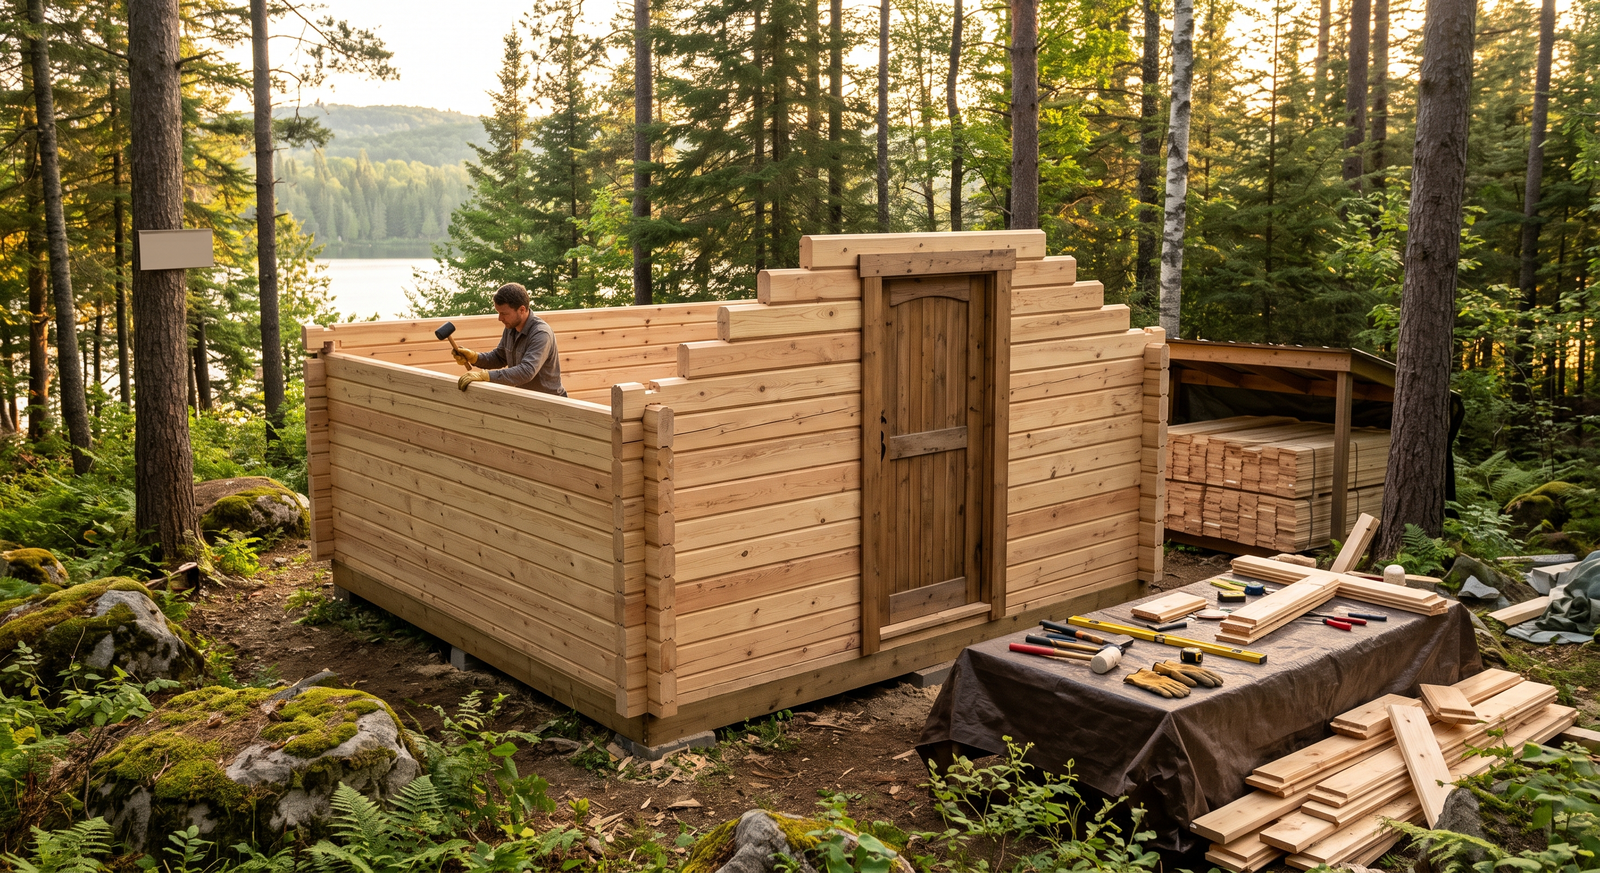
Rest of day one: wall logs, stacking and interlocking course by course, following the numbered sequence. A rubber mallet helps seat each log fully before moving up. This is the bulk of the physical work, and it goes faster with three people than two.
Day two: roof structure, then doors and windows. This is the stage where it stops looking like a pile of lumber and starts looking like the thing you ordered — genuinely the best part of the weekend.
We go stage-by-stage in a lot more detail, including the tools you’ll actually need, in our DIY log cabin kits guide.
The Part After the Weekend That People Skip
Don’t skip it. Exposed wood needs stain or sealant promptly after assembly — it’s what keeps the structure looking good and performing well for years instead of one season. Unsealed wood is also typically excluded from any manufacturer warranty, ours included.
One More Thing to Check First
Depending on the size you’re planning, you may or may not need a permit. Many Canadian municipalities exempt small accessory structures under roughly 108 sq. ft. (10 m²), but rules vary by location — worth a phone call to your building department before you order anything. Full details in our permit guide.
Was It Worth It?
For most people who go this route, yes — a genuine sense of “I built that,” a structure that cost a fraction of a contractor build, and a finished space they understand well enough to maintain themselves. It’s not effortless, and the foundation stage deserves the respect it doesn’t always get. But if you’re comfortable with a drill and a level, and you’ve got a weekend and a couple of extra hands, it’s a realistic project, not just an aspirational one.
Ready to pick a model? Browse our cabin kits to compare sizes and pricing, all backed by a 5-year limited warranty.

